The Architecture of Inoculation: A Guide to the Spectrum of Home-Fermented Yogurt
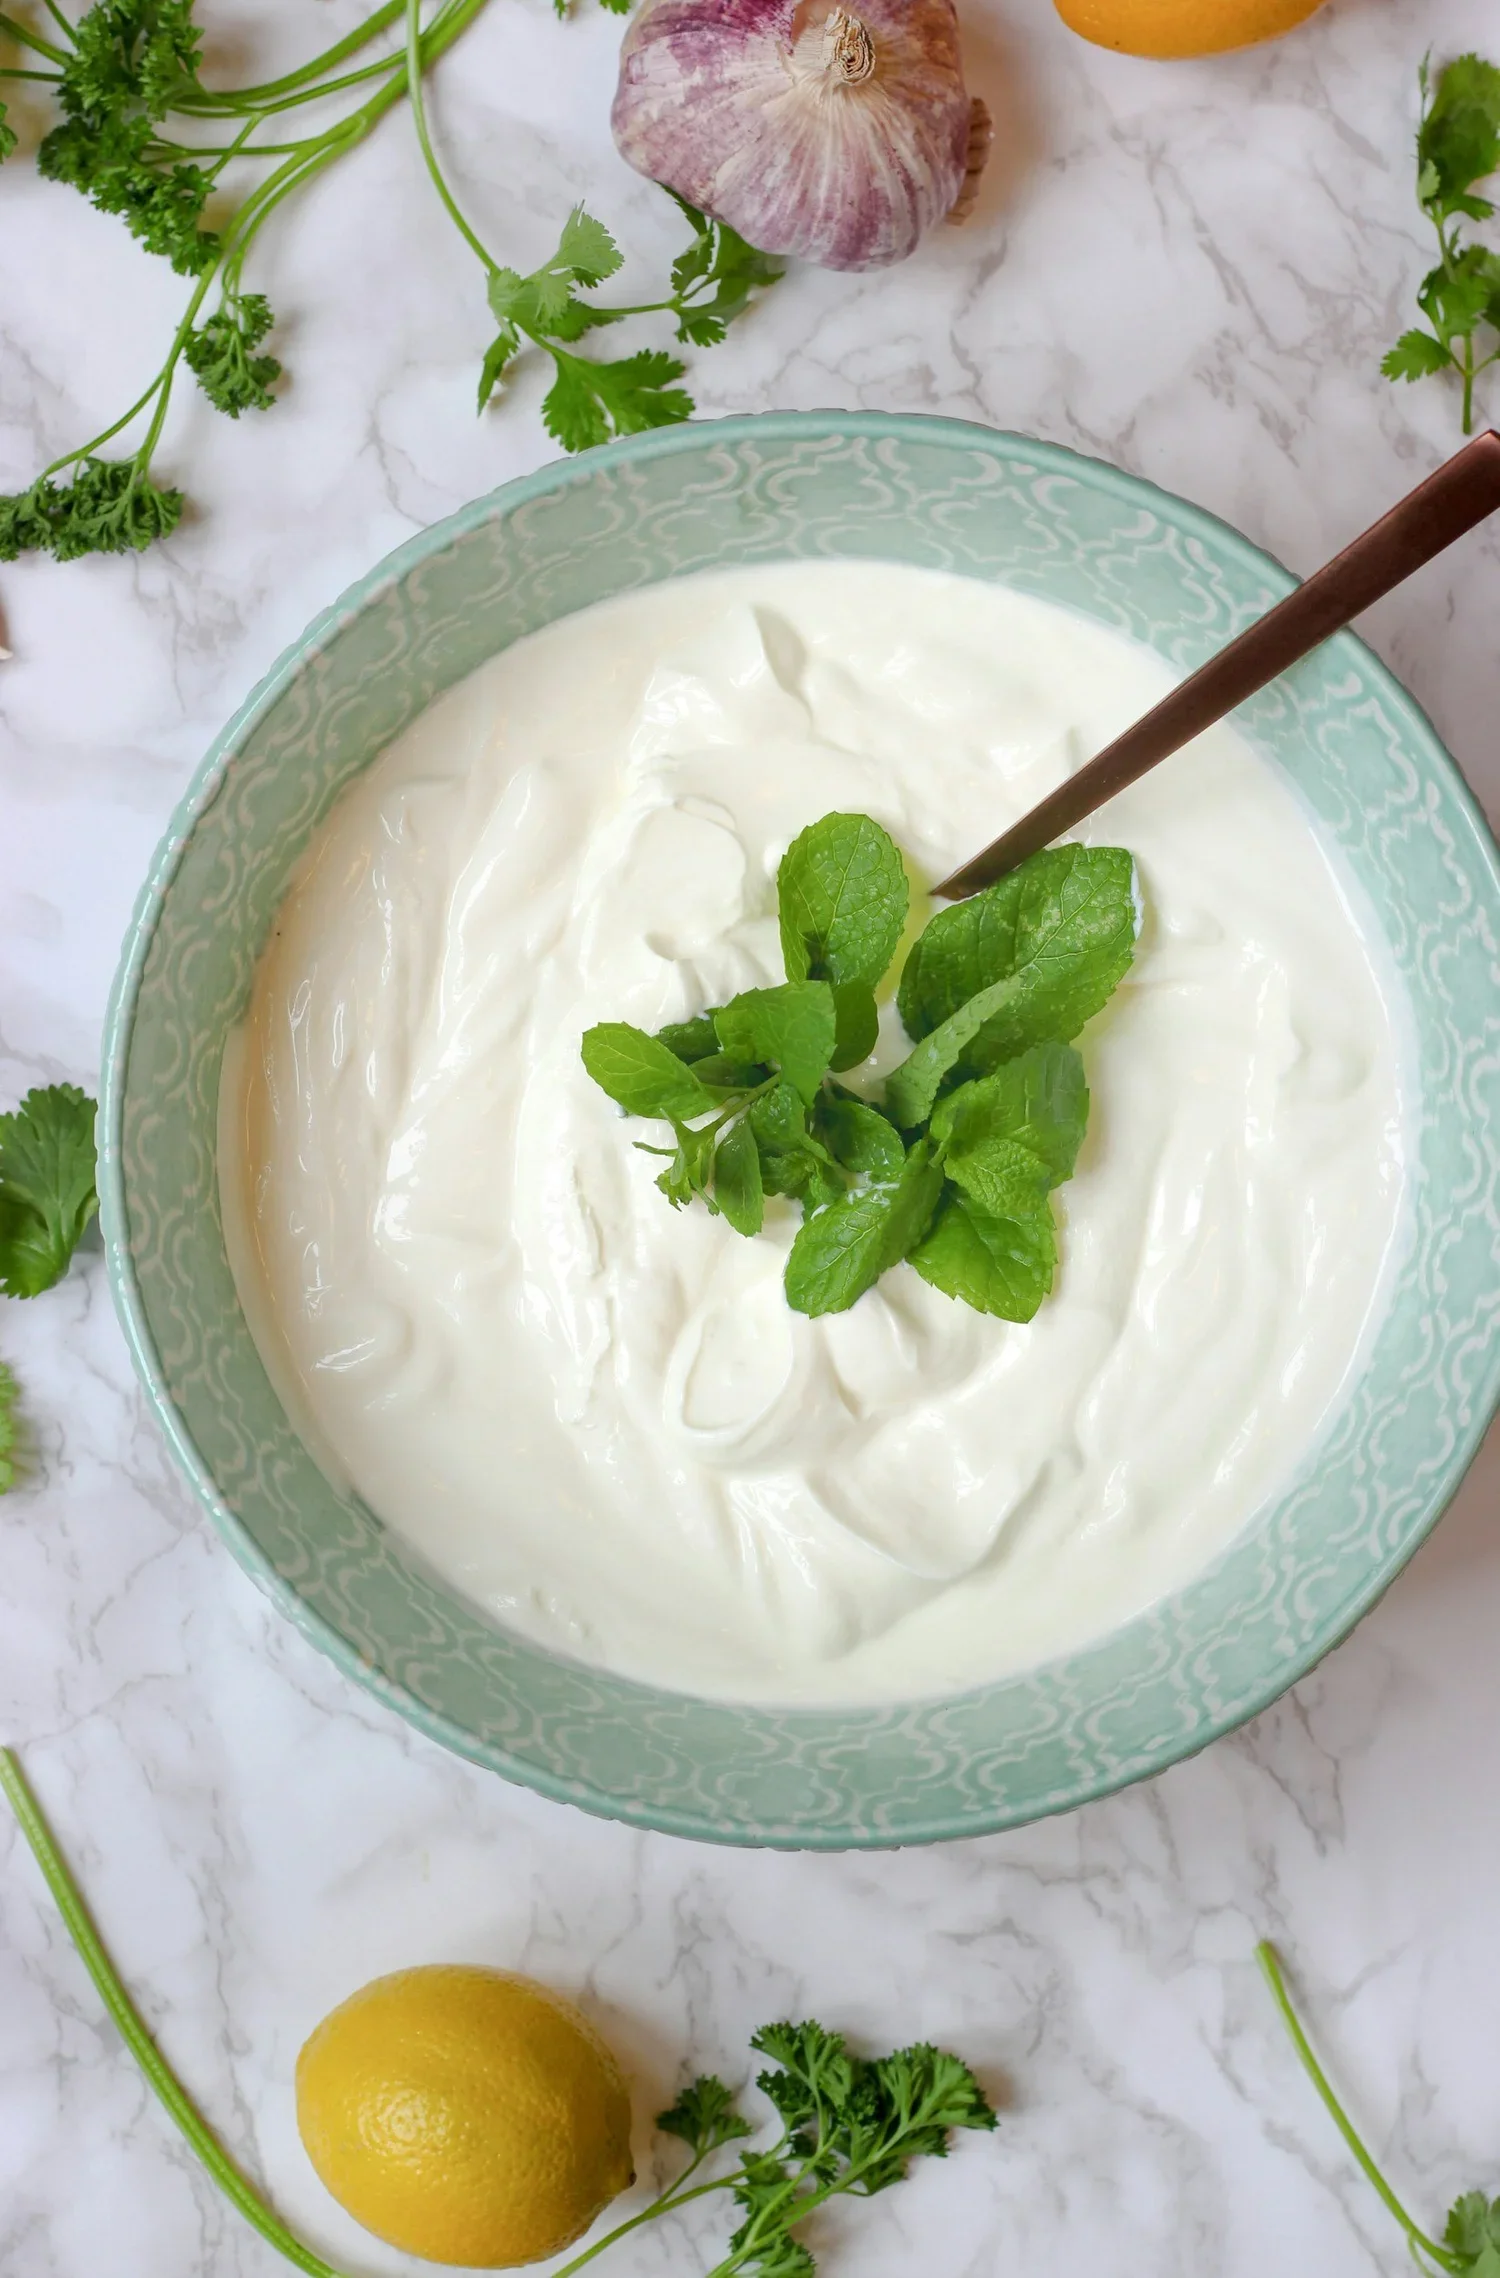
Photo by: Photo by Micheile Henderson on Unsplash
My personal kitchen in Hanoi is severely underequipped. No thermometer, no tongs, and until recently, no collander/cheesecloth. How then, am I to supplement my pantry for the things I cannot easily (or afforably) buy here? Well, there is always a way to DIY, and for yogurt, that’s just what I did.
In my kitchen, we engage in a tactical struggle against texture, ambient humidity, and a lack of equipment. We’ve fought the war against lumpy sauces and navigated the chemistry of emulsification, but lately, the battlefield has shifted to the dairy aisle… or rather, the back of my oven.
It started as an experiment in self-sufficiency: a liter of milk, a dollop of starter, and a prayer to the gods of thermophilic bacteria. What emerged after a grueling half-day of residual heat wasn't just yogurt, it was a revelation. It was thick, unapologetically tangy, and far superior to the "fruit-on-the-bottom" sludge found in plastic cups. But as I’ve learned through multiple batches, the secret to professional-grade yogurt isn't just the heat; it’s the mechanics of the strain.
Why DIY Yogurt? Why Bother?
In an age where "convenience" is the buzzword of the century, home fermentation feels like resurrecting ancient rituals combined with a quiet act of sustainable rebellion. When you buy a tub of yogurt at the store, you are buying a snapshot of a process that has been halted, stabilized with pectins, and sweetened into submission. To wax in hubris, when you make it at home, you are the god who permits the rise and fall of generations of (microscopic) civilizations.
My journey began with a simple question: Why does store-bought Greek yogurt taste like chalk, while the fresh versions I’ve had taste like silk? The answer isn't in the brand, it’s in the moisture. By taking control of the straining process, you move away from being a consumer and start becoming a curator of consistency. You discover what your version of perfect is, and strive to master it every time.
Phase 1: The Incubation (The "Oven Method")
Kitchen Tips:
- In lieu of a thermometer, you may use a clean finger to test the temperature. It should be warm to the touch, but cool enough to keep your finger in for 10+ seconds comfortably
- Heat the milk slowly and stir frequently to prevent scalding
- Keeping the milk covered as much as possible can prevent a "skin" or film from forming on the liquid's surface
- If it is particularly cold where you are, preheat the oven to about 65°c (or 150°F), turn it off, and leave it open for about 5 minutes before putting your proto-yogurt inside
Before we talk about the cheesecloth, we have to talk about the set. I’ve found that the most reliable tool in my kitchen is my oven, and in this specific case, its stable temperature and warm, glowing light.
The chemistry is straightforward: you heat your milk to roughly 82°C (180°F) to denature the whey proteins (this ensures a thicker set), cool it down to a "baby-bath" temperature of 43°C (110°F), and whisk in your starter. To prevent scalding, ensure you stir the milk with a clean spoon every so often, and don’t try to heat it too quickly.
The magic happens in the dim of the oven’s light. I leave mine for 14-15 hours in the oven, with just the light on. This extended time allows the Lactobacillus to consume more of the lactose, resulting in a sharp, complex tang that acts as the perfect canvas for both honey and garlic alike. If you prefer a milder flavour, 8-12 hours should fit the bill.
Phase 2: The Spectrum of the Strain
Once you’ve mastered the incubation, you’re left with a choice. You can stop at "good enough," or you can grab a cheesecloth and decide exactly how decadent you want your masterpiece to be. The pre-strained result is more akin to a thick buttermilk. Loaded with probiotics, protein, and tangy goodness. But for those who crave more… this is where the artistry lies. Through my own experimentation, I’ve mapped the milestones of moisture removal into four distinct tiers.
1. The 4-Hour Mark: The Breakfast Standard
At this stage, you have classic "pot" yogurt. It’s pourable, light, and retains its full volume. If you’re a fan of smoothies or the second screen lifestyle, where you need a high-protein snack that can be consumed quickly between dungeon runs or work emails, this is your tier. It’s low maintenance and retains a mild sweetness that hasn't been fully overshadowed by acidity yet.
2. The 8-Hour Mark: The Greek Plateau
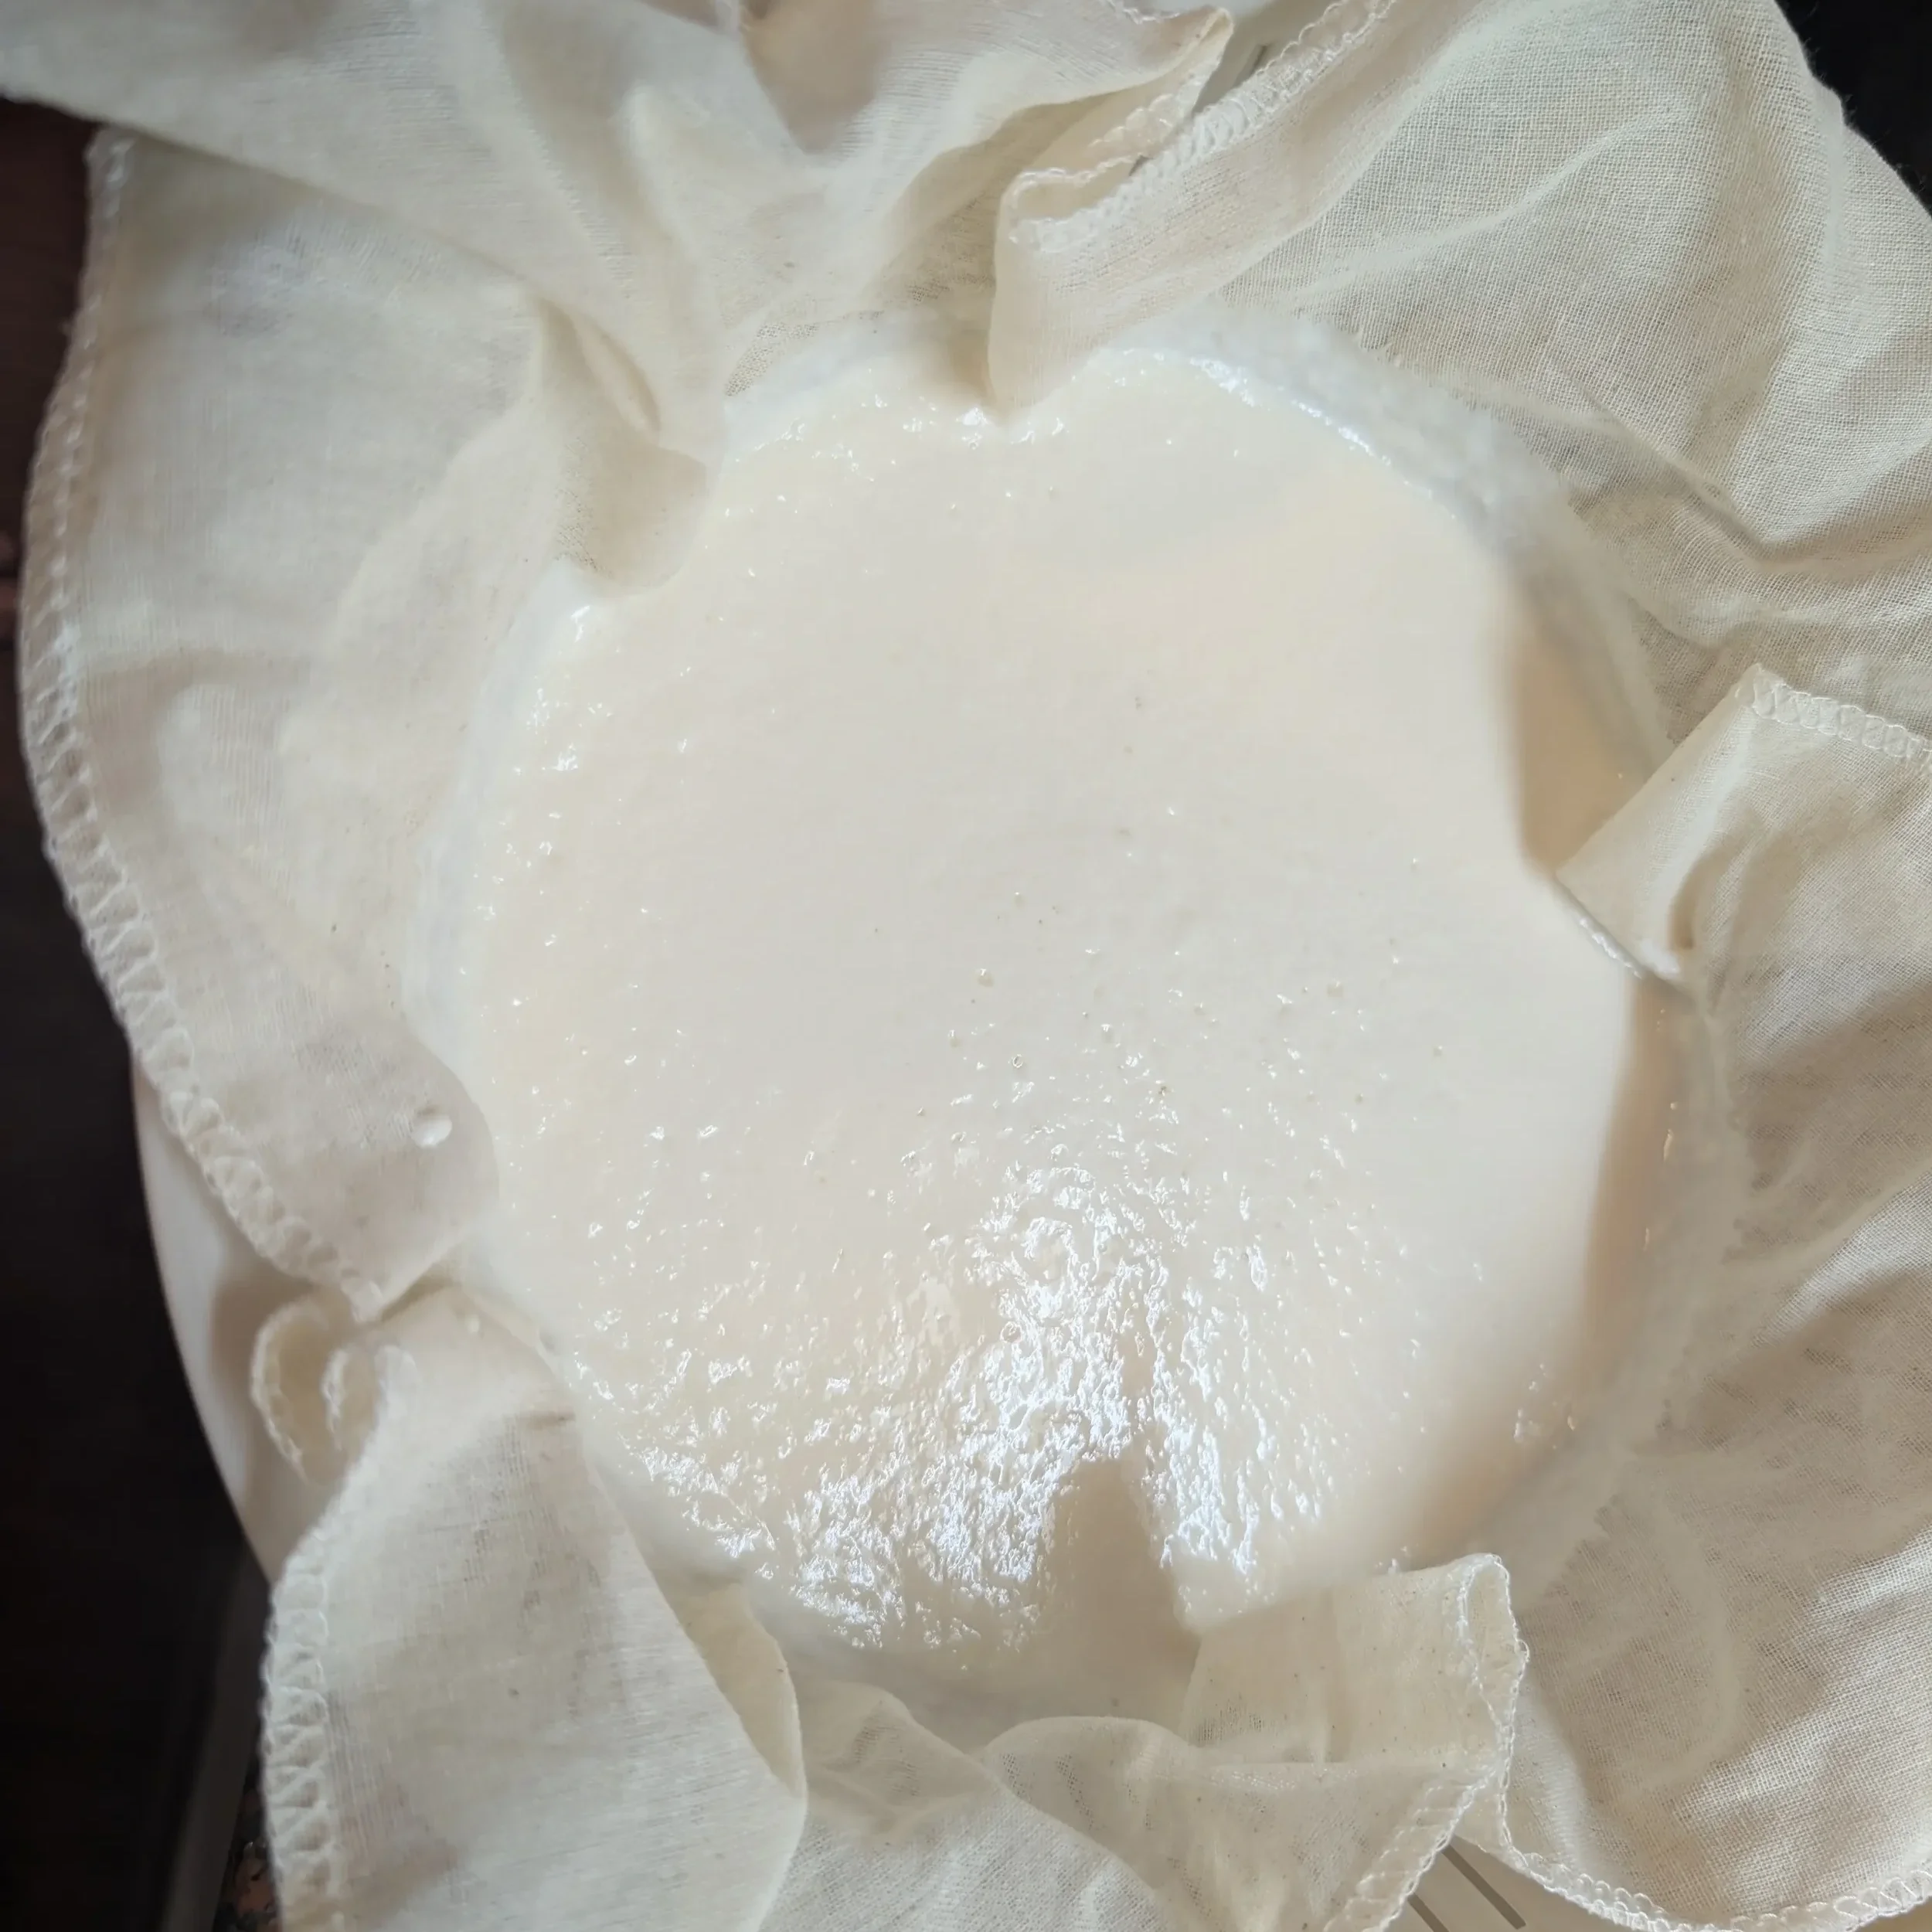
My yogurt straining after about 6 hours, nearly Greek consistency.
This is the sweet spot for most home cooks. The yogurt is stable, stands up on a spoon, and has a velvet finish. It’s the reliable backbone of the dairy world, as it does exactly what you expect it to do. By the 8-hour mark, you’ve removed enough whey to concentrate the proteins, giving it that luxurious mouthfeel that makes store-bought versions feel like a scam.
3. The 16-Hour Mark: The Skyr Simulation
Now we’re getting into "dry" territory. This mimics the dense, protein-packed profile of Icelandic Skyr. When we traveled through Iceland, we were fascinated by Skyr’s ability to stay on an overturned spoon (move over, Dairy Queen). While Skyr is “technically” a cheese, due to added rennet (an enzyme that curdles dairy), at 16 hours of straining, your yogurt achieves similar solidity. It’s substantial, nearly savory, and serves as a fantastic base for thick sauces that won't run all over your plate.
4. The 24-Hour Mark: The Labneh Frontier
After a full day in the cloth, the transformation is complete. You are no longer holding yogurt; you are holding "yogurt cheese." This is a dense, spreadable matrix that rivals cream cheese in utility and beats it in complexity. In the Levant, this is Labneh. It is a cornerstone of the mezze table, and for good reason. It’s the ultimate expression of what patience can do to a humble liter of milk.
Chef's Tip: Ensure you have your straining yogurt suspended, so it doesn't soak the strained fluids back up. As the moisture collects, remove it from your basin (saving it for later, hint hint) to ensure you keep the suspended yogurt dry.
The Chemistry of the "Whey Dividend"
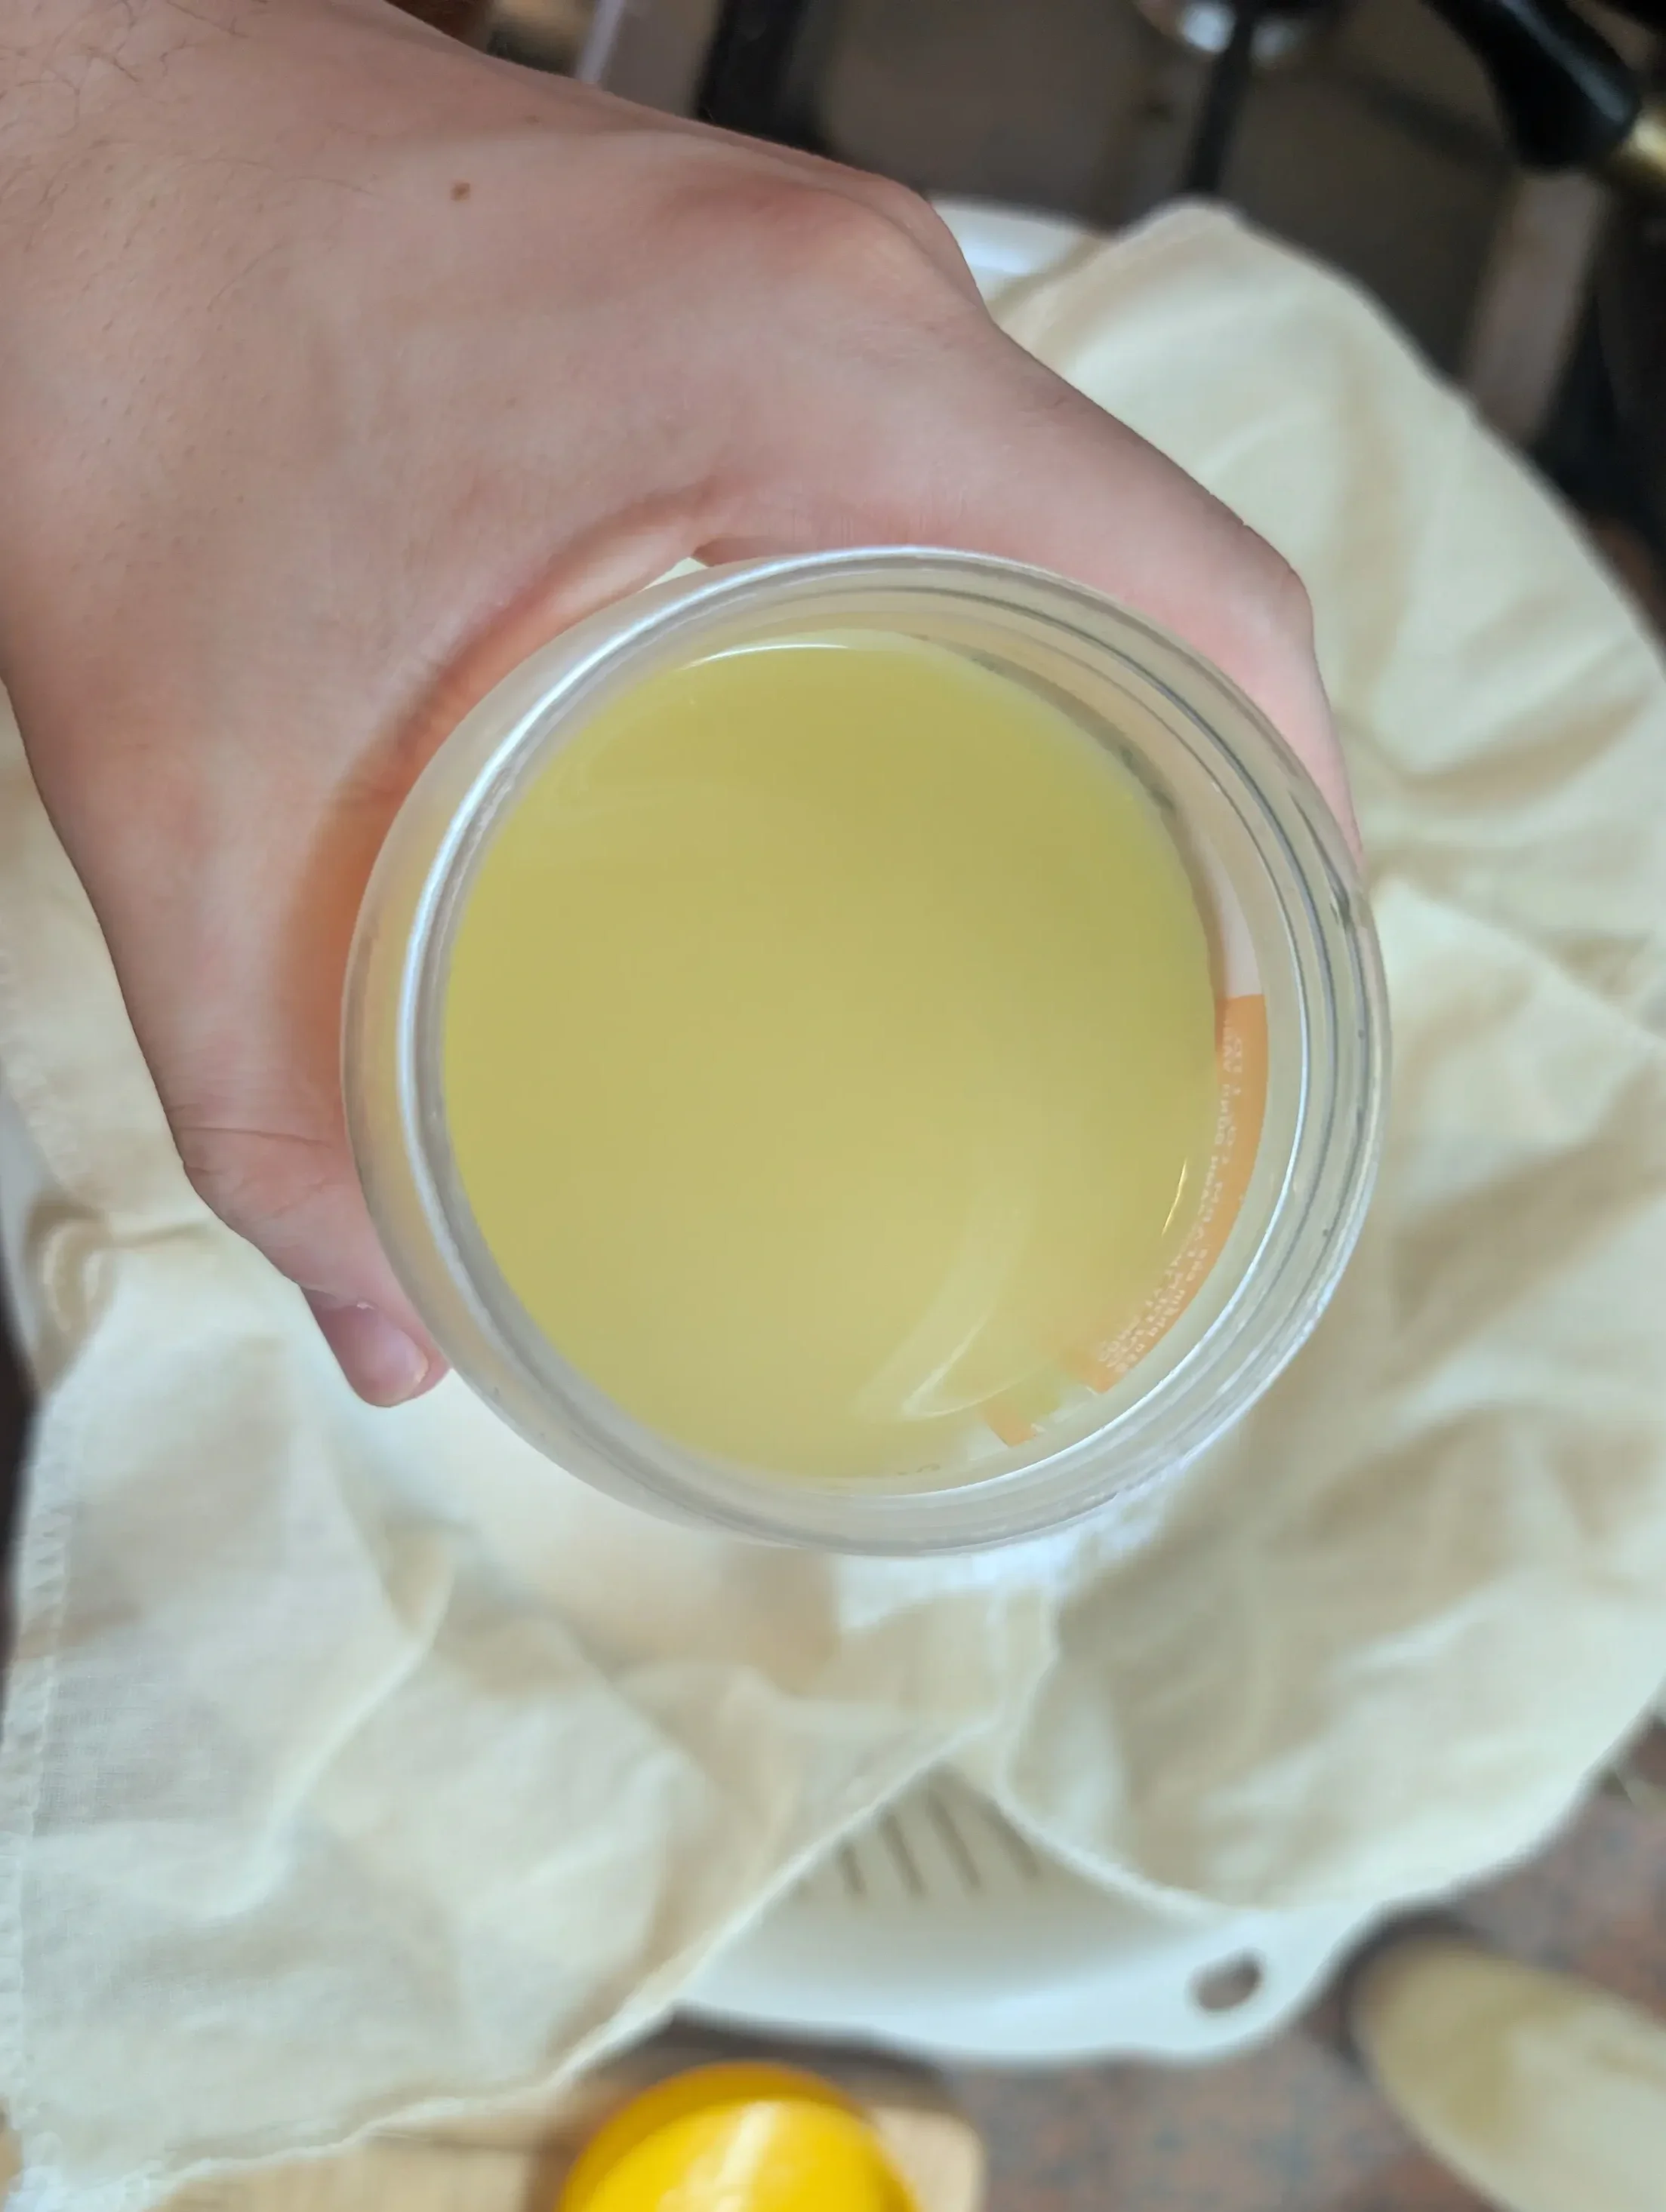
This translucent yellow liquid is the acid whey separated from the yogurt solids, a nutrient-rich byproduct perfect for baking or smoothies.
In a world obsessed with efficiency, we often overlook the most valuable byproducts of our labor. In this case, we have the acid whey. When you strain for 24 hours, you’re left with a pale, neon-yellow liquid that most people unfortunately pour down the drain. Don't be that person. Consider that this “waste” is what whey protein powders are concentrated from. Yep, packed full of protein.
That whey is a concentrated dose of lactic acid, minerals, and vitamins. In my kitchen, it’s a dividend for future projects:
The Bread Booster: Substitute the water in your bread recipes for whey. The acidity acts as a natural dough conditioner, breaking down gluten just enough to give you a softer crumb and a more professional rise.
The Marinade Matrix: Use it to brine chicken or pork. The enzymes break down proteins with a gentleness that harsh vinegars simply can't match. It’s the difference between a tough piece of meat and one that melts in your mouth.
The Garden Fuel: If you have acid-loving plants like blueberries or tomatoes, a diluted whey mixture is like a shot of adrenaline for their roots.
The Protein Punch: As previously mentioned, this acid whey is high in protein. Excellent for adding to smoothies or shakes for extra gains and a side of probiotics.
Cultural Echoes: From Reykjavik to Hanoi
Part of the Tales by Travel mission is exploring how these simple mechanical processes connect us to global traditions. In Hanoi, where the humidity can turn a kitchen into a natural incubator, fermentation is a way of life. Whether it’s the 12-hour ritual of Bánh Chưng or a simple batch of yogurt, there is a shared understanding that time is the most important ingredient.
In the Middle East, that 24-hour strained Labneh is sometimes rolled into balls and submerged in jars of olive oil with rosemary and chilis, a preservation method that dates back centuries. By mastering the strain, you are doing so much more than making a snack, you’re participating in a global culinary heritage that values the slow and steady over the convenient.
Technical Notes for the Perfectionist
If your yogurt is coming out "grainy" rather than silky, you’re likely dealing with a temperature spike during inoculation. Much like a broken Hollandaise or a lumpy roux, it’s all about the matrix. Ensure your milk stays at a steady 43–46°C during the initial set. Common culprits can be varied milk temperatures (stir the milk before and during the addition of the starter) and inconsistent oven temperature.
If you're using the oven method, remember that residual heat is a fickle mistress. A heavy-bottomed Dutch oven can be a godsend here. It acts as a thermal battery, keeping those bacteria happy while you’re off utilizing that leftover acid whey to make .
The Takeaway: The Science of Silk
Whether you’re aiming for a light lassi to accompany your scorching Delhi curries, or a jar of labneh balls, the process remains the same: patience, heat, and a clean cheesecloth. We trade the convenience of the grocery store for the satisfaction of a perfect set.
No more lumpy textures. No more culinary mourning. Just pure, fermented victory. We’ve deconstructed the science of the silk, and the result is a kitchen that feels a little more like home and a little more like international hertigage.
Got a Lactose Legend to share? Having complication with your source strain? Leave a comment below to ferment for a while…